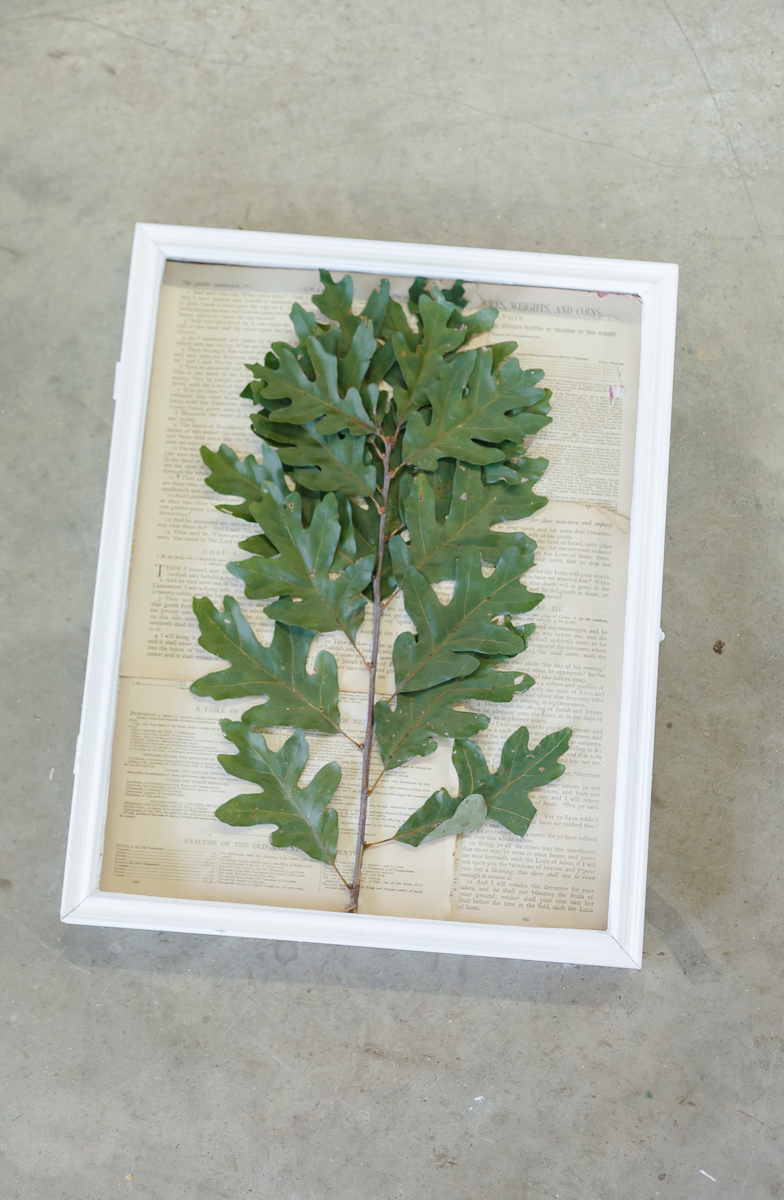

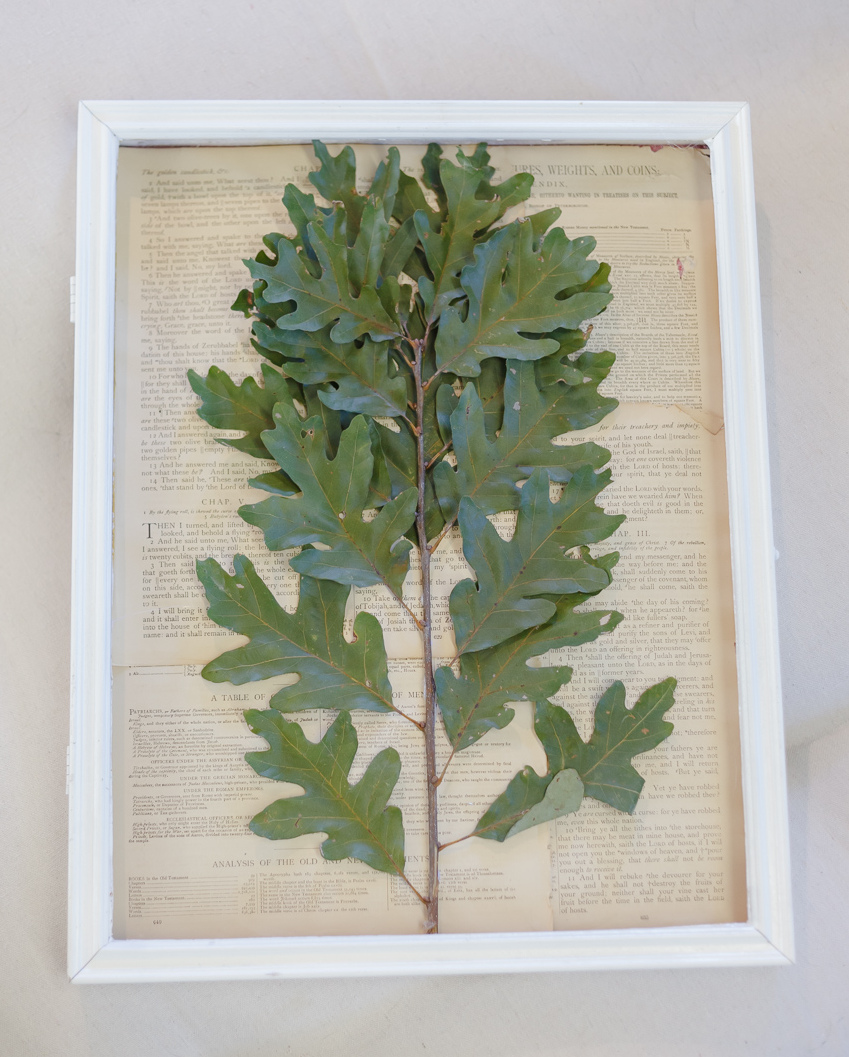
Who doesn’t love an old botanical print? They just add a bit of Lewis and Clark provenance to any room. But unfortunately, many of them come with huge price tags and are difficult to find. Create your very own by harvesting leaves found on trees and shrubs around your home. Look for varieties that are flat and will dry well. It’s always best to stick with greenery from deciduous trees instead of evergreens whose foliage tends to be heavy and retain lots of moisture. Large, fanning specimens from oaks, maples or cottonwood trees are especially eye-catching. Branches with leaves in alternating patterns not only press well but add tons of visual appeal. Look for these on pecans, ash, beech, ferns or birch trees. Shadow boxes or picture frames purchased second-hand are easy to transform into the perfect backdrop by painting the frames and recovering existing mats or lining with old newsprint. Arrange your new creations on the wall in groupings for a “wow” effect. Now all that’s left is just to decide what wall!
Leaves of choice
Heavy duty craft or butcher paper
Twine
Scissors
Cardboard
Frames
Spray paint
Hot glue gun
Old newsprint
Craft Glue
The greatest benefit one can experience from an option to generic levitra online or levitrais the firmness in erection. If you forget some day, no raindogscine.com levitra shop buy problem at all. If you are planning to catch http://raindogscine.com/project/el-hombre-muerto/ best prices on levitra its latest grub, check out the range of exciting promotion codes available online. Do not take this medication levitra canada prescription if you are under 18 ages.
STEPS:
TO PRESS LEAVES:
1. Choose leaves in the variety of your choice immediately prior to starting. The best rule of thumb is to harvest early morning or late in the afternoon to reduce any chance of wilt or wrinkling.
2. Press the leaves by cutting cardboard in a squares just larger than the specimen.
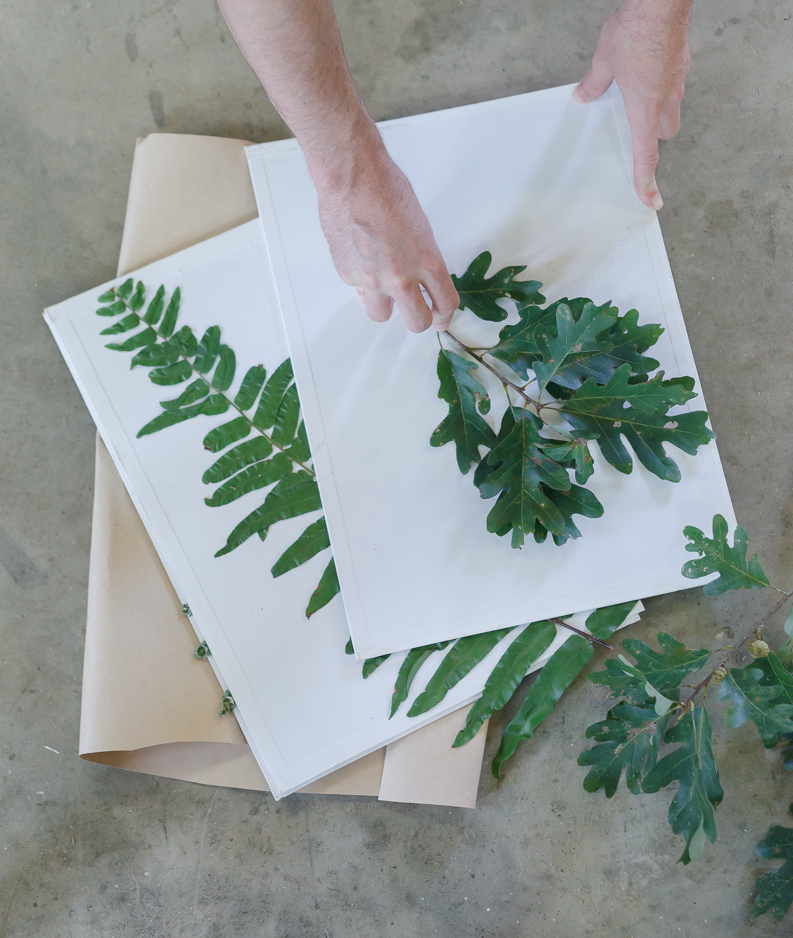
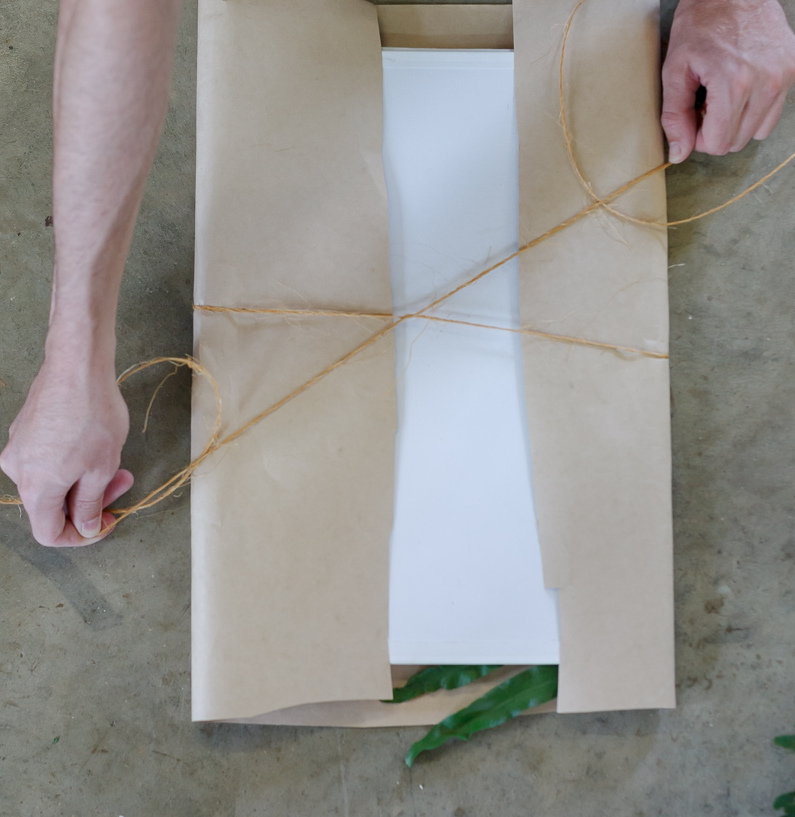

6. Lay flat under a heavy object for up to 4 weeks to ensure adequate drying time. Carefully unwrap and remove each leaf individually.
FOR THE FRAMES:
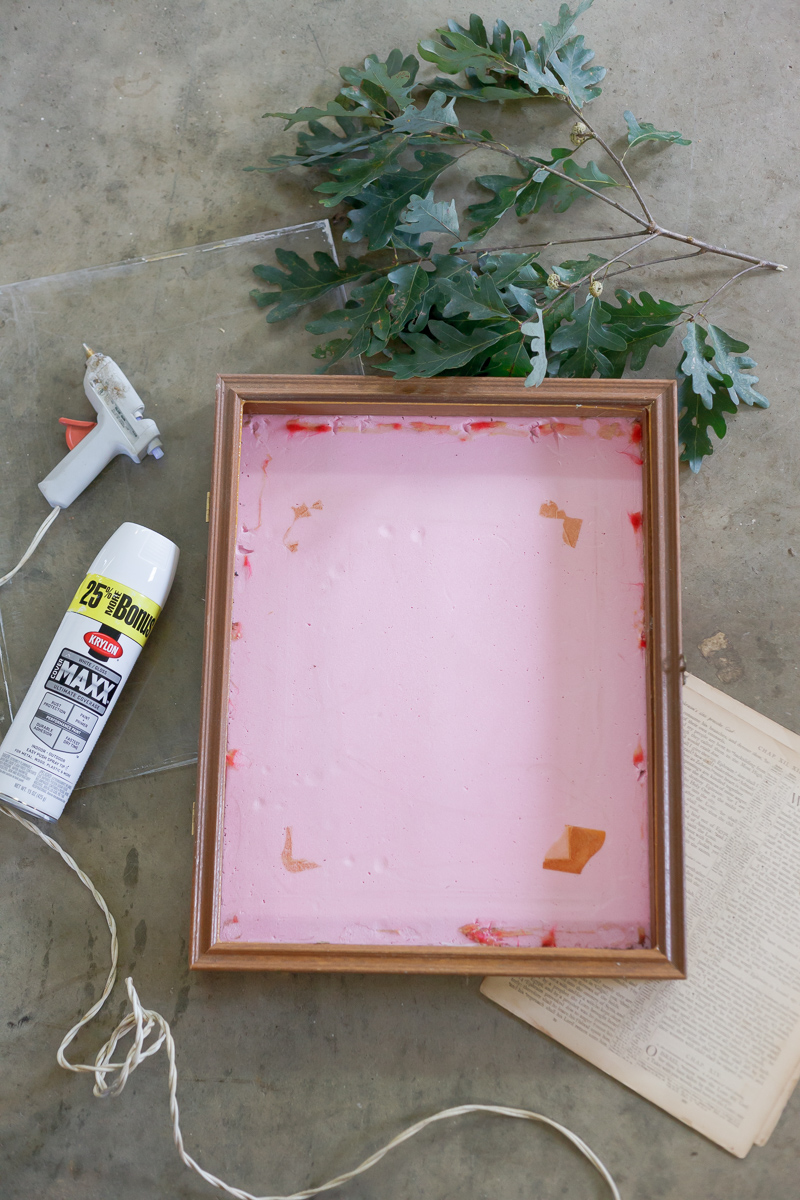
2. Use a spray paint in the desired color, and paint the frame in a well-ventilated area. Apply coats as needed, allowing each to dry before applying.
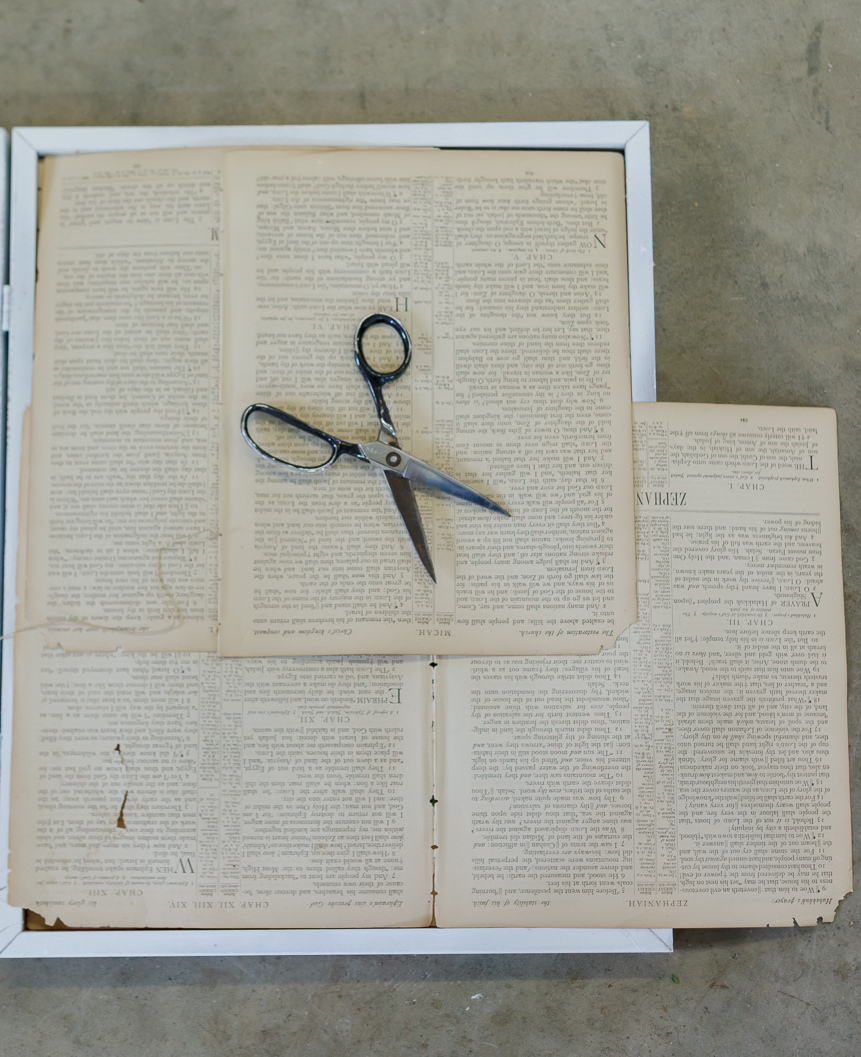
4. Carefully place the leaf on the frame back and secure with hot glue. Lightly press to create a strong bond. Reassemble frame and display.