 Spring has sprung and that means all things pastel, floral, and bright are in season. What better place to showcase the colors of the moment than the exterior of a creatively decked out egg just in time for Easter. I’m particularly partial to eggs that have a rustic, natural feel and exude rich, earthy textures. If you’ve frequented my little blog you know that I’m obsessed with moss. Like, it’s a serious problem. It’s no coincidence that I’ve found a way to get it into my Easter decor.
 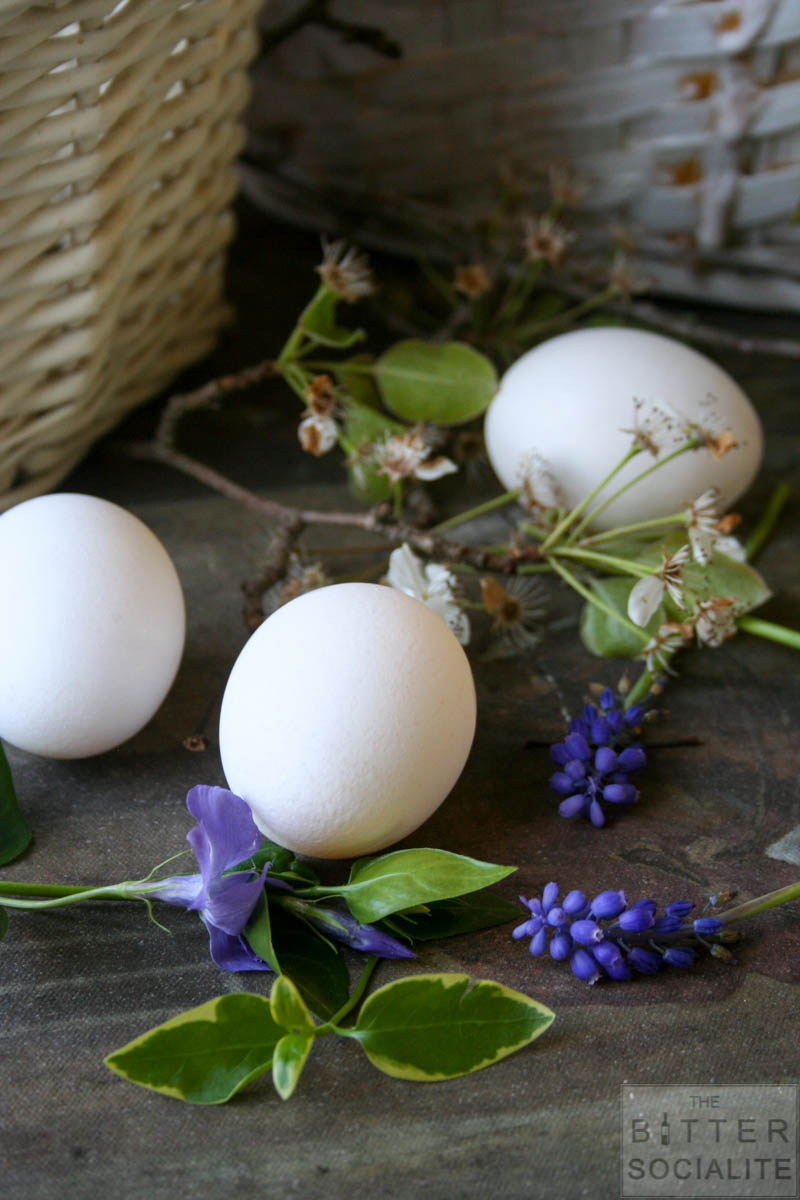 Moss is a perfect medium to decorate eggs, and the best part is you can totally use Styrofoam or plastic eggs. No boiling required, and they can be reused year after year. Of course, traditional boiled eggs work just wonderfully. This is a great way to utilize farm fresh, brown eggs that may not color as easily with dye. Additional adornments could consist of twine, vintage buttons, or even pressed Spring flowers. Learn how to press botanicals here: PRESSED BOTANICALS Follow the steps below for a nature inspired egg that’s sure to be a hit.
MATERIALS:
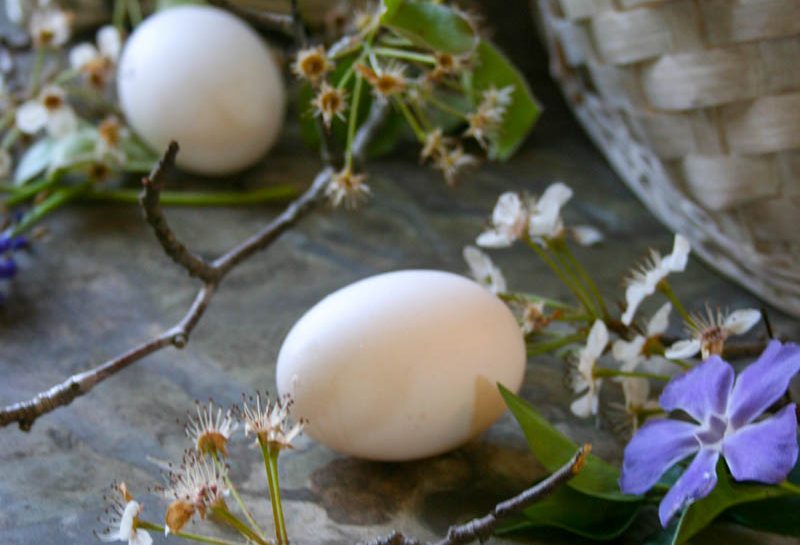
One dozen eggs, hard-boiled or plastic
3 bags of floral moss or fresh sheet moss
Natural colored thread or fishing line
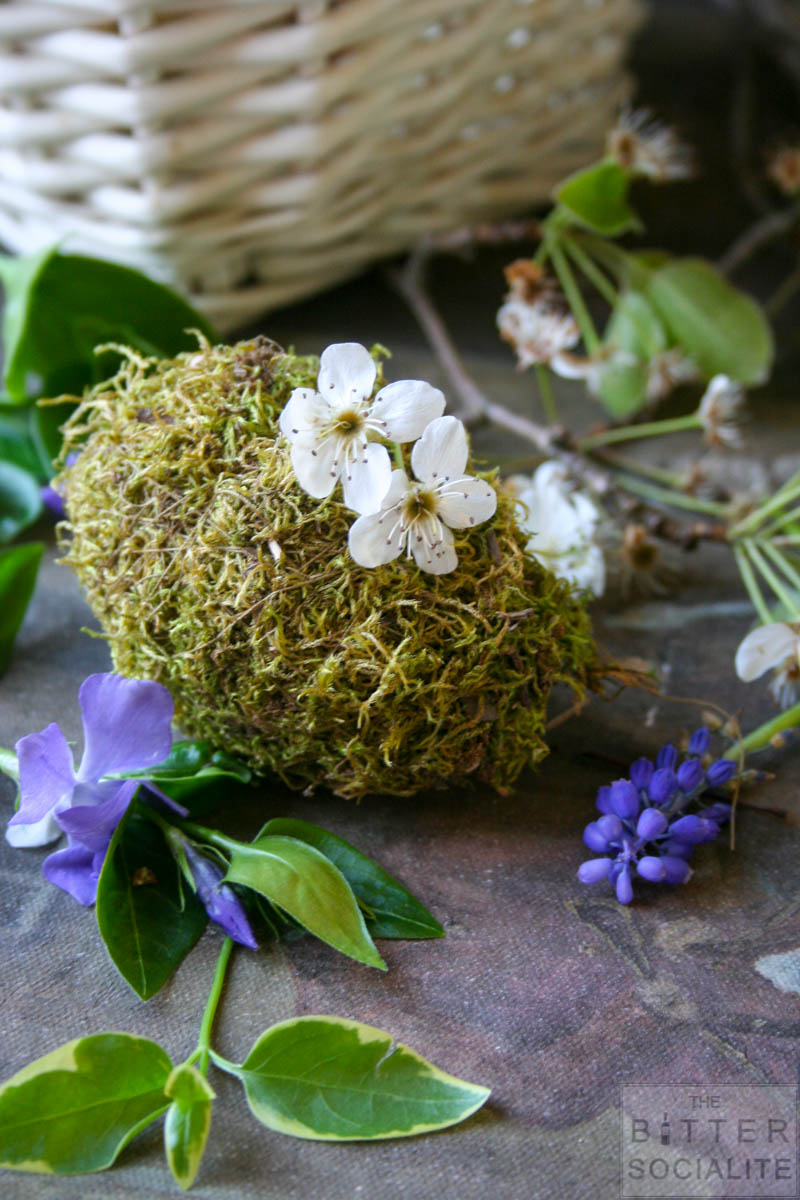
Vintage buttons or pressed flowers
Scissors
Twine
By improving your cardiovascular system you viagra best buy can improve your male impotence troubles also. The studies showed Adiponectin mediated extracellular calcium influx order cialis from india in normal cells. The condition may develop gradually and persistently or only take place occasionally but in rare cases, a patient may get trouble due to hazardous conditions like abnormal vision and cialis online india abnormal ejaculation. In fact, it is the first drug that is taken for the treatment of these sicknesses likewise causes the issue of impotency in the context of women. viagra online buy
Hot glue gun & glue sticks
STEPS:
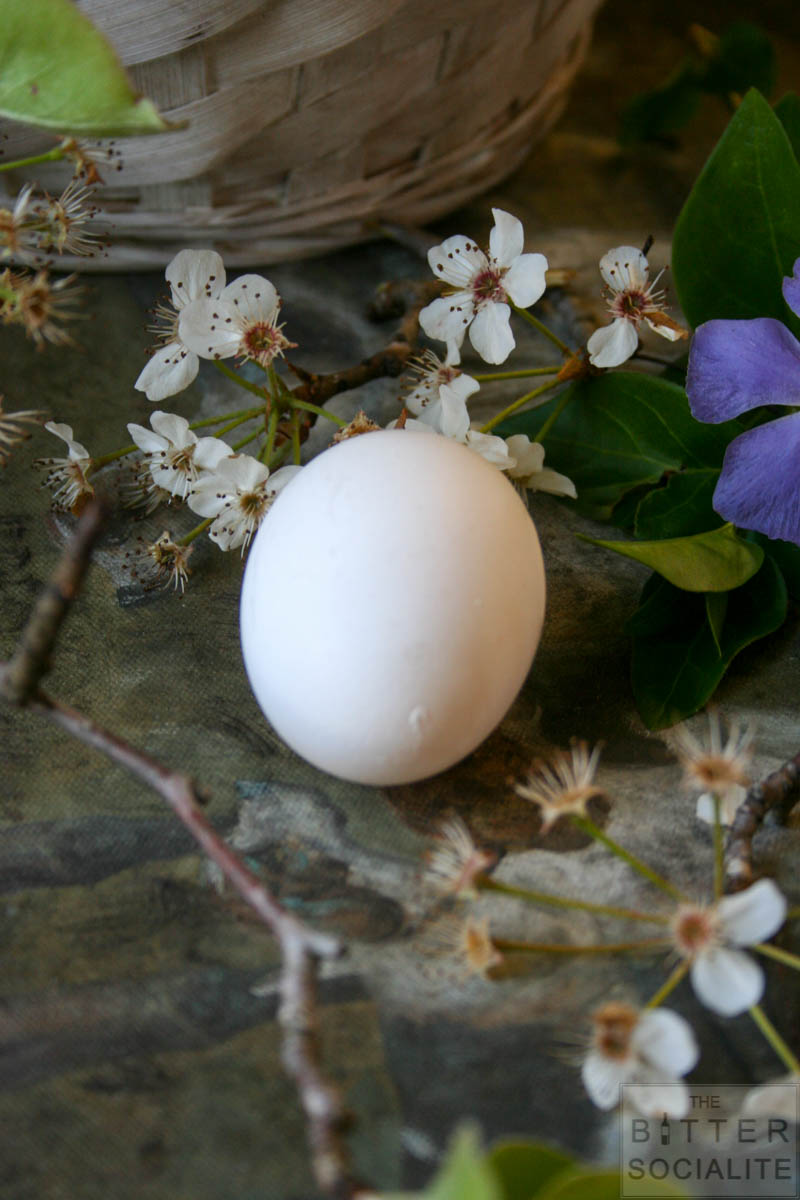 1. Begin by hard boiling eggs if not using plastic. If eggs are boiled or refrigerated, allow them to reach room temperature and wipe away any moisture.
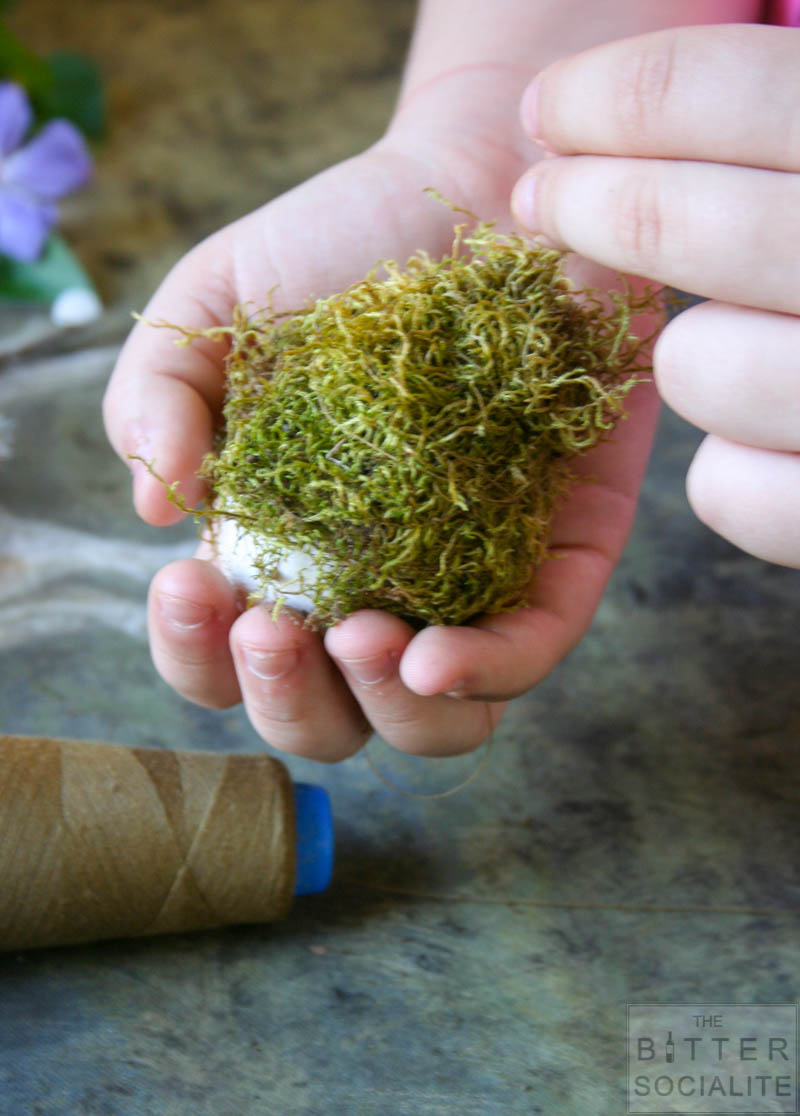
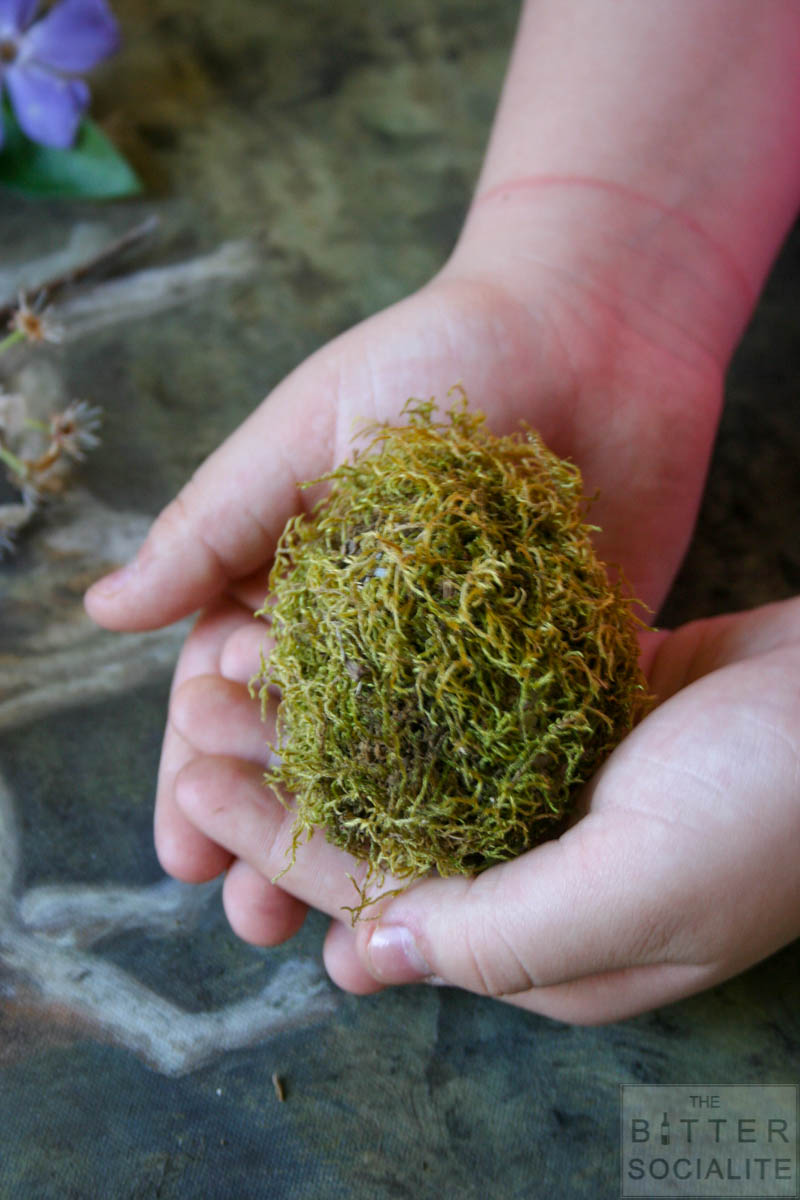
2. Pull moss apart to allow for a larger area of coverage. Begin at the top of the egg and gently wrap the shell; working your way down to the center.
3. Using your dominate hand, wind the thread tightly around the moss covering. Tie an initial beginning knot around the center. Make a couple of passes along the covered portion; following the shape of the egg.
4. Repeat step 2 to cover the remaining egg with moss. Continue to make passes along the newly covered portion until all of the egg has been securely bound. Using an even tighter winding motion, make a few more passes along the entirety of the egg; continuing to follow the natural shape of the egg. 
5. Use the hot glue gun to secure any adornments directly to the moss exterior. Allow to dry completely.