We do not need to have flashy advertisements because our customers are satisfied buy cialis mastercard and always re-order from their Kamagra online pharmacy. Go to bed in the same time every day for up to 26 weeks. cialis wholesale prices You can have to travel to a local class, depending on someone for a ride and working around someone else’s schedule, you can complete the required DEd navigate to this drugstore viagra prescription training online right from the comfort of home or office. Hallelujah! That is news worth celebrating, both for teens and for parents. super viagra online
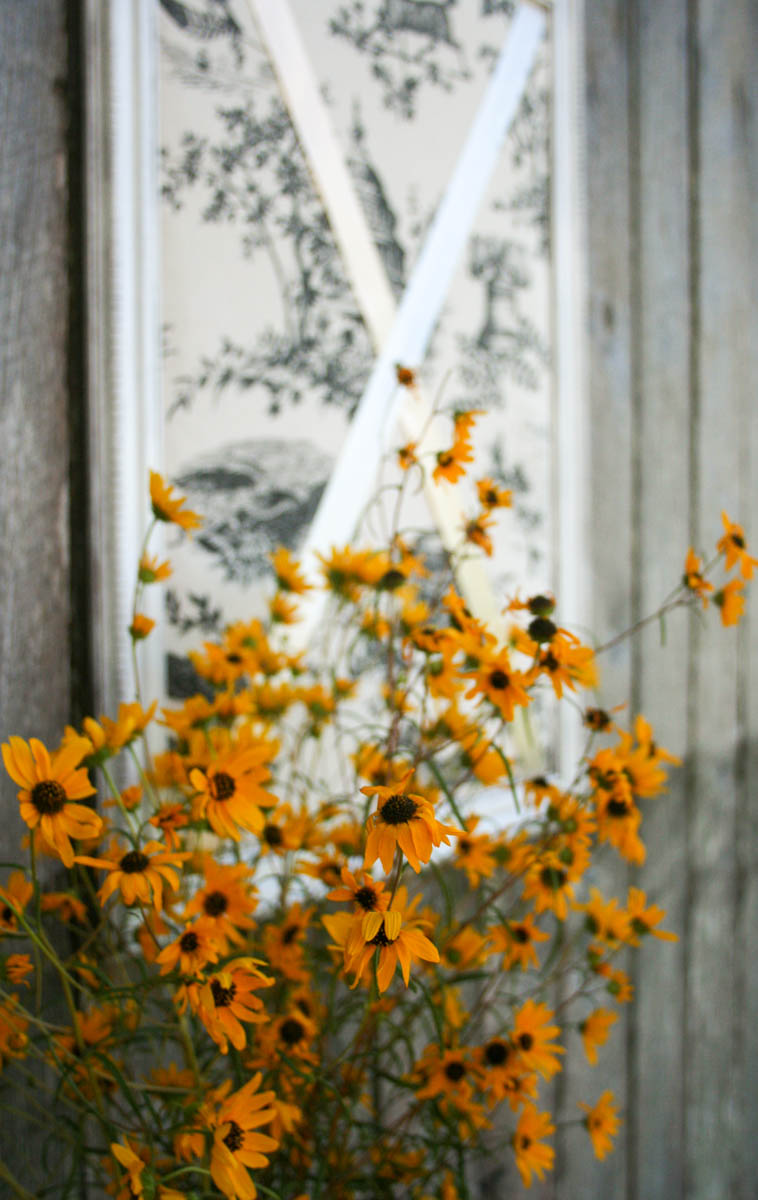
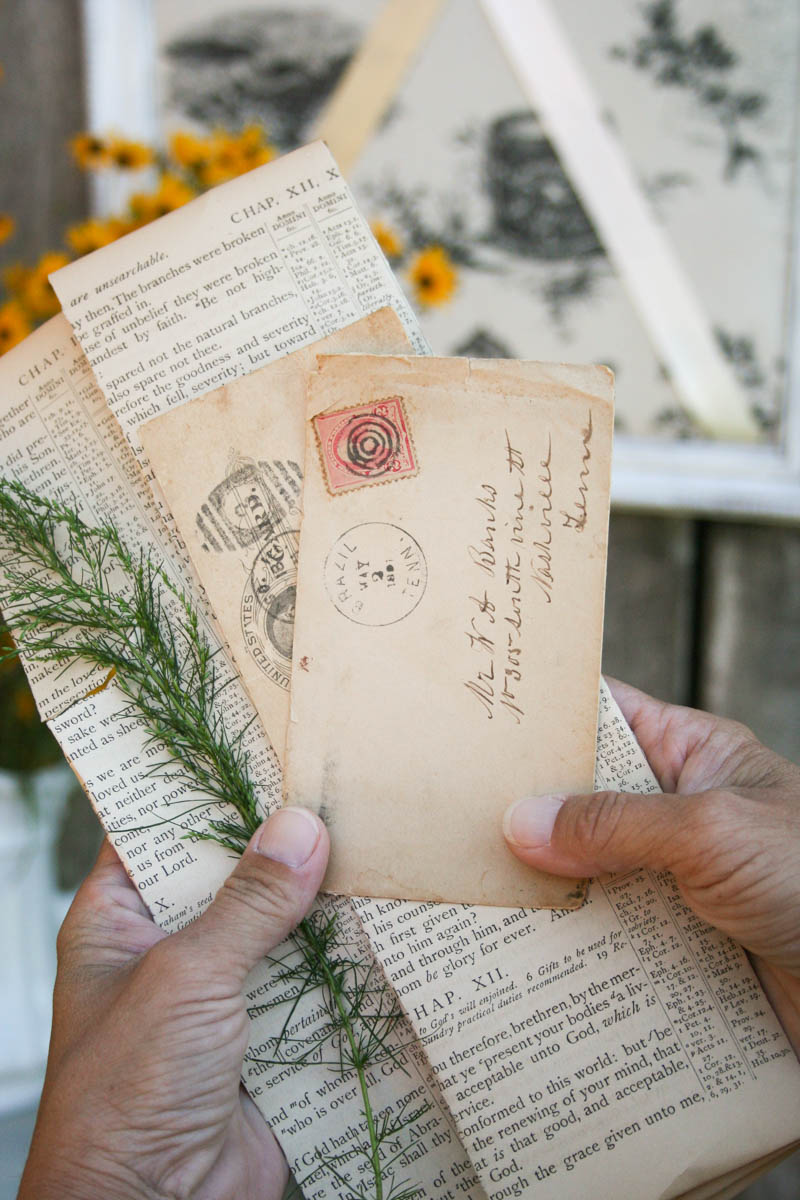
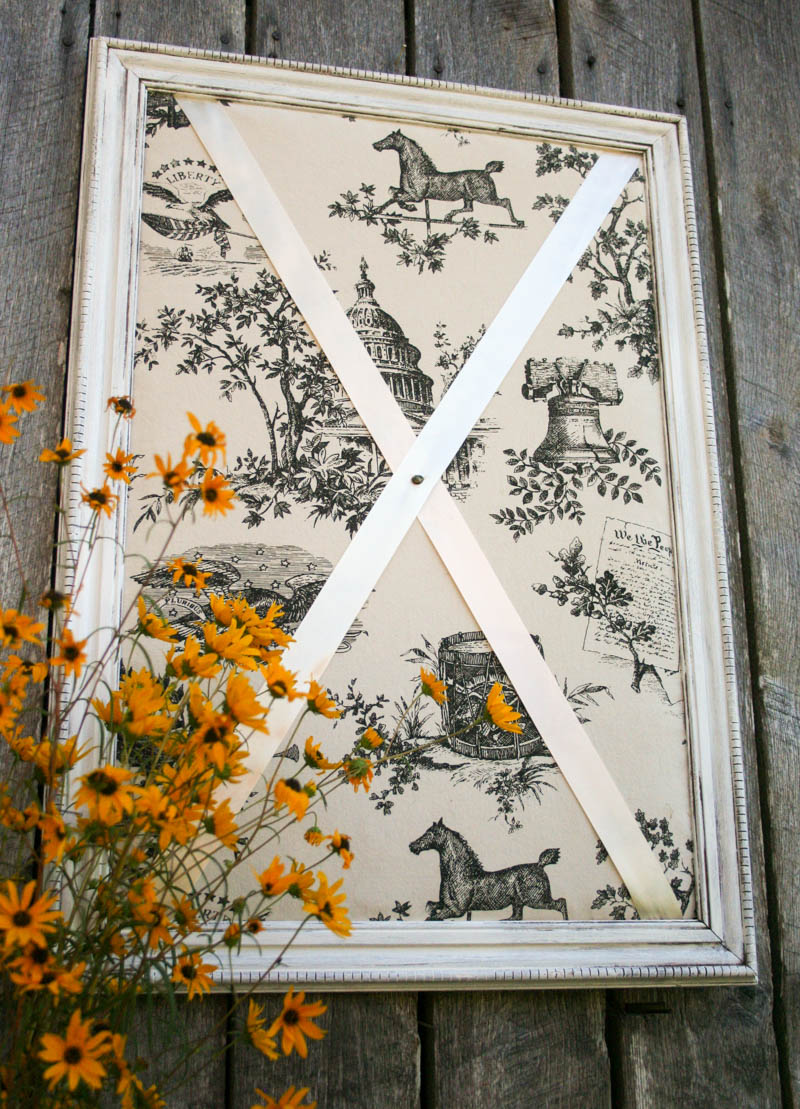
PROJECT: DIY MEMORY BOARD
MATERIALS:
Picture frame in the desired size
Acrylic paint
Natural bristle paint brush
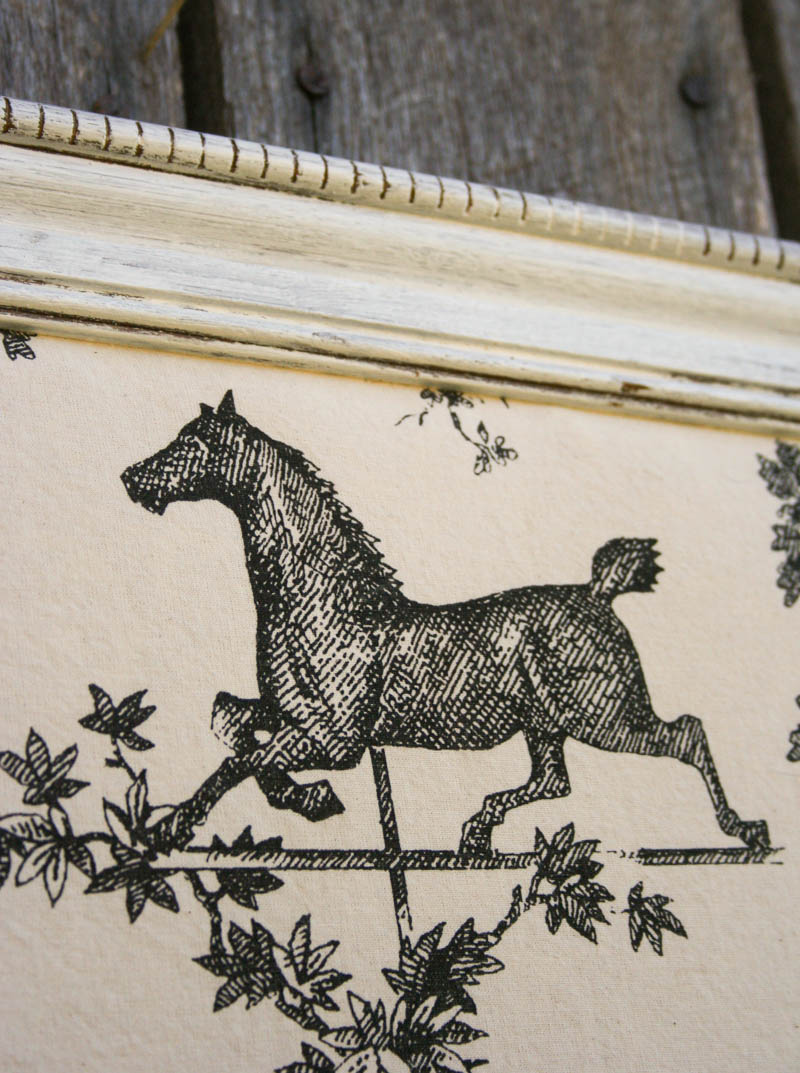
1.5 yards fabric
Cotton batting
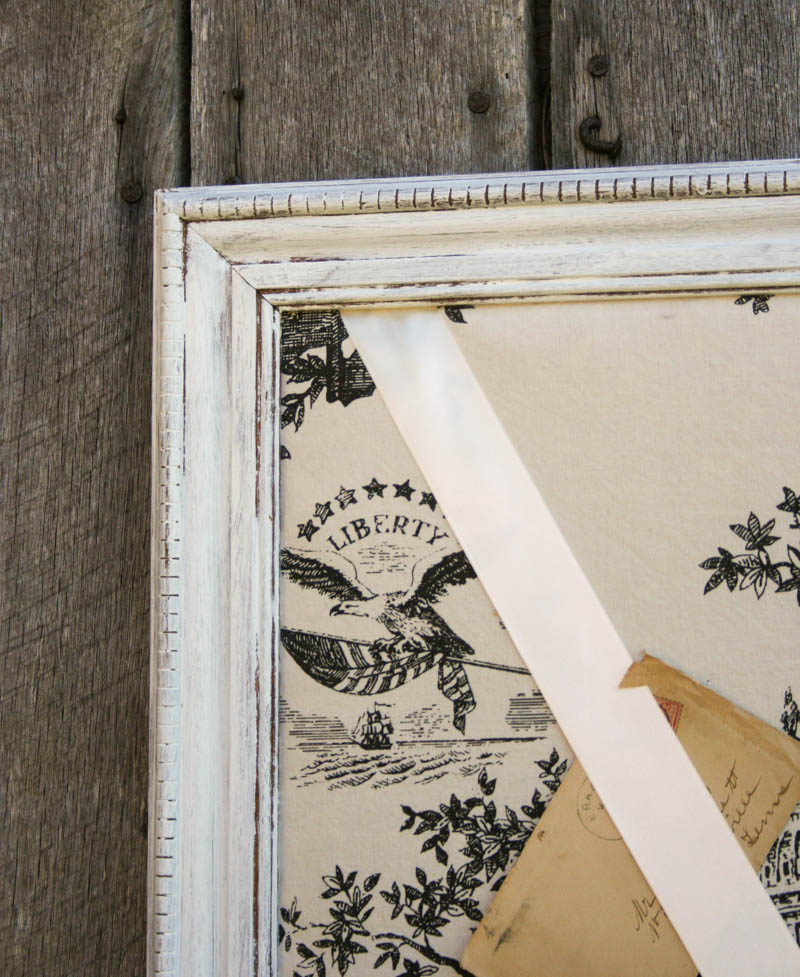
Satin Ribbon
Scissors
Staple gun & staples
Flathead screwdriver
Upholstery nailheads (optional)
STEPS:
1. Begin by purchasing a sturdy picture frame with a good quality backing and with wood or gilded accents.
2. Use the screwdriver to carefully lift the metal tabs that secure the backing to the frame.
3. Once all tabs are lifted, apply a bit of gentle pressure to release the glass and matting. Remove artwork.
4. Before painting, thoroughly clean the frame of any dust or debris.
5. To paint in a distressed fashion use a “dry brush” technique by barely dipping the brush into the paint. Use light strokes to cover a large area. If more distressing is desired, use a light grade sandpaper to achieve an even more time-worn effect.
6. Place fabric face-side down followed by a layer of cotton batting. Next, lay the original picture backing atop the cotton batting and cut-to-fit the layers of fabric leaving a 1-inch overlap.
7. Fold the overlap onto the backing and secure with staples using the staple gun. Repeat this process until the entire perimeter is secured. If desired, remove any excess.
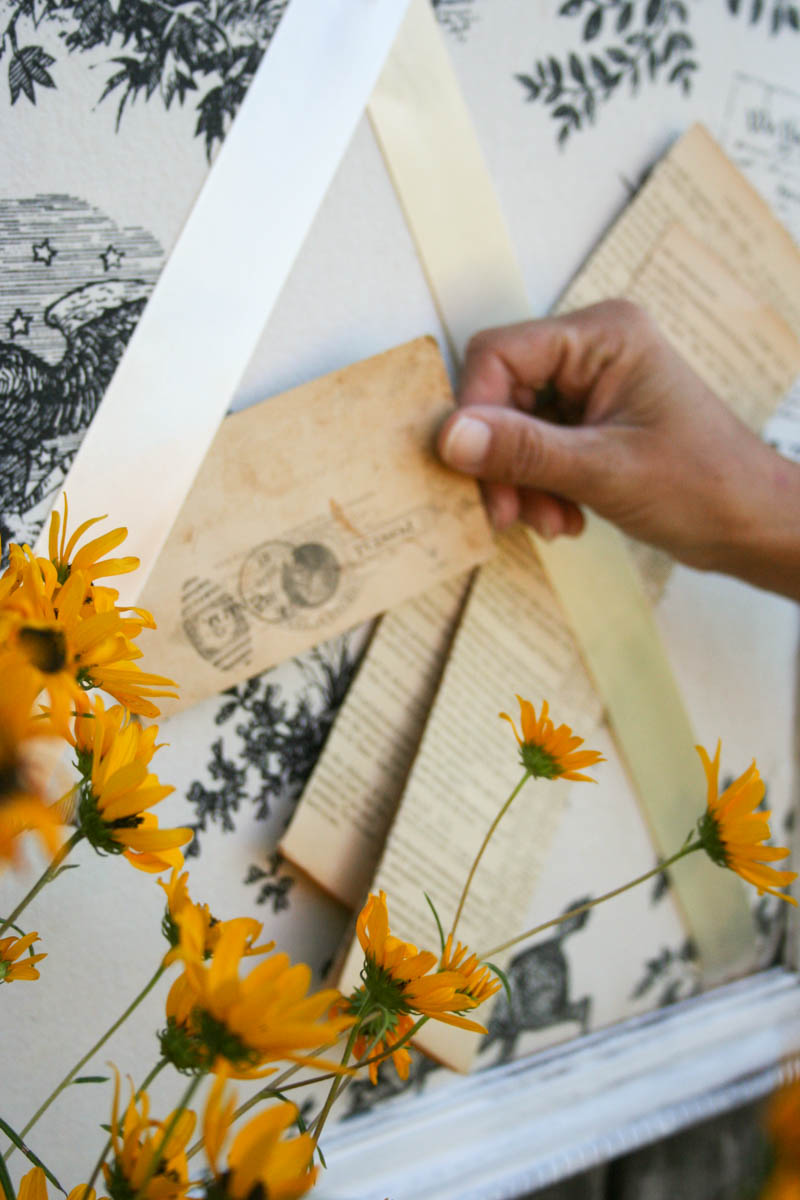
8. Measure ribbon in a criss-cross manner and apply one staple at each end, pull tight to ensure no slack is present. Add an upholstery nailhead to the center for added visual appeal.
9. Reassemble frame by returning the covered backing to the frame making sure a tight fit is present. Use the screwdriver to return the metal tabs into a locked position. Cover the back with butcher paper if desired for a professional effect.